
How to Cook a Whole Chicken in an Air Fryer?
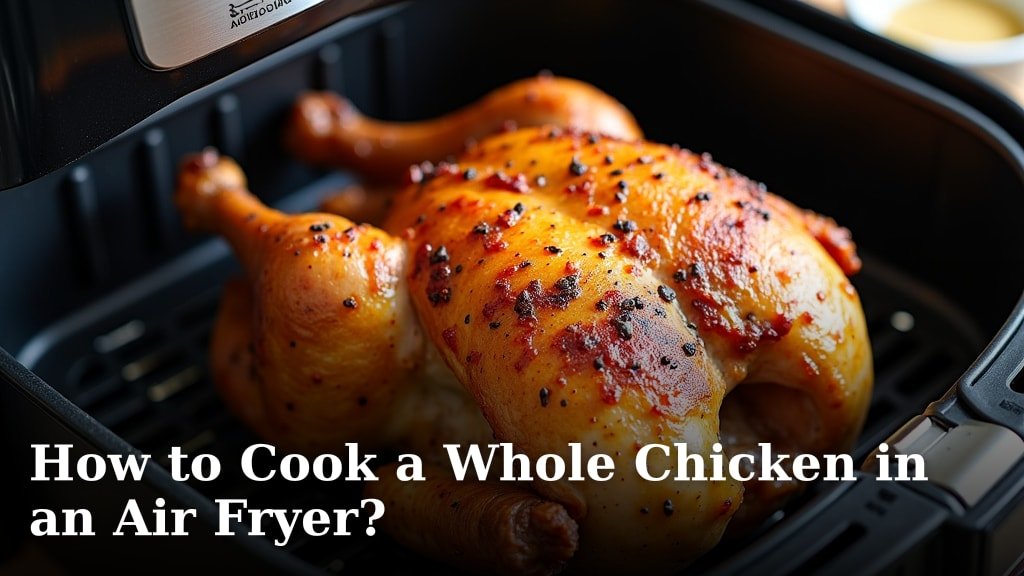
You can cook a whole chicken in an air fryer, and it’s surprisingly easy and delicious! For a juicy, tender chicken with crispy skin, we found an air fryer is a fantastic tool.
Cooking a whole chicken in an air fryer saves time compared to a traditional oven. It uses less energy and still delivers a perfectly cooked bird. You’ll love the convenience and the amazing results.
- Easy and quick whole chicken.
- Juicy inside, crispy skin outside.
- Less energy than an oven.
- Perfect for weeknight dinners.
Are you ready to make a perfectly roasted chicken without all the fuss? Let’s walk you through exactly how to cook a whole chicken in an air fryer, step by step.
Prepping Your Whole Chicken for Air Frying
To get that perfect air-fried chicken, a little prep goes a long way. This ensures juicy meat and super crispy skin.
It’s not complicated, but these steps make all the difference. You want your chicken to cook evenly and be full of flavor.
Choosing the Right Chicken Size
Size absolutely matters when air frying a whole chicken. Most air fryers are compact appliances.
We found that a chicken between 3 to 5 pounds is ideal. Anything larger might not fit or cook properly in your air fryer basket.
Always measure your air fryer’s internal dimensions before buying a bird. You need enough clearance for air to circulate freely around the chicken for even cooking.
Thawing and Patting Dry
If your chicken is frozen, you must thaw it completely. A partially frozen chicken will cook unevenly and could be unsafe.
The safest way to thaw is in the refrigerator overnight. For faster thawing, you can use cold water, changing it every 30 minutes (USDA).
Once thawed, pat the chicken super dry with paper towels. We can’t stress this enough! Dry skin is the secret to crispiness.
- Remove from packaging.
- Check for giblets and neck; remove them.
- Rinse thoroughly inside and out (optional, some say it spreads bacteria).
- Pat, pat, pat dry with paper towels.
- Ensure no moisture remains on the skin.
Seasoning for Maximum Flavor
This is where you infuse your chicken with deliciousness. Don’t be shy with your seasonings!
A simple salt, pepper, and garlic powder mix is a great start. But feel free to get creative with your favorite spices.
Consider a dry rub with paprika, onion powder, thyme, and rosemary. For extra flavor and crisp, coat with a little oil after seasoning.
Rub the seasoning all over the chicken, including inside the cavity. You want every bite of your chicken to be flavorful.
A little olive oil or avocado oil helps the flavors stick. It also promotes that beautiful golden-brown crust.
Mastering the Air Frying Technique
Cooking a whole chicken in an air fryer is a technique anyone can master. It’s really about managing temperature and timing.
You’ll be amazed how quickly and efficiently your air fryer transforms a raw bird into a dinner masterpiece.
Arranging the Chicken in Your Air Fryer
Placement is crucial for air circulation and even cooking. Do not overcrowd the basket.
If your air fryer basket is too small, you might need to spatchcock the chicken. Spatchcocking means flattening the chicken by removing the backbone.
Most air fryers can handle a whole chicken laid on its back. Make sure there’s space around it for the hot air to do its job.
Some air fryers come with a rotisserie function, which is amazing for whole chickens. If you have it, use it!
If not, simply place the chicken breast-side up. This ensures the breast meat stays moist while the skin gets nice and crisp.
Setting the Right Temperature and Time
This is the magical part. Air fryers cook faster than conventional ovens, so don’t just transfer your oven recipe settings.
We found that starting at a higher temperature for crisping, then lowering it for cooking, works best. This gives you golden skin without overcooking the inside.
Initial Crisp and Cook Phase
A good starting point is 375-400°F (190-200°C) for the first 15-20 minutes. This provides an excellent sear.
It helps render the fat and develops that irresistible crispy skin. Keep a close eye on it during this phase.
Lowering for Even Cooking
After the initial crisping, lower the temperature to 350°F (175°C). Continue cooking for another 40-60 minutes, depending on the chicken size.
You’ll want to flip the chicken halfway through this second phase. This ensures both sides get exposed to the heating element.
Flipping helps even out the cooking and ensures the underside skin gets crispy too. Use tongs or a meat fork to turn it carefully.
Monitoring Doneness with a Meat Thermometer
Never guess if your chicken is done. A meat thermometer is your best friend here.
The internal temperature of a cooked whole chicken should reach 165°F (74°C) in the thickest part of the thigh, without touching bone (USDA).
Check the temperature in multiple spots. The breast meat should also register 165°F. This is crucial for food safety.
Many experts emphasize the importance of monitoring internal temperature. Don’t solely rely on cooking time.
Troubleshooting and Tips for Success
Even with careful planning, things can sometimes go awry. Here are some solutions and extra tips for your air-fried chicken journey.
We want you to feel confident and achieve perfect results every single time.
Dealing with Uneven Browning
Does one side of your chicken look much crispier than the other? This can happen.
It’s often due to limited air circulation or inconsistent heating zones in your specific air fryer model.
The solution is simple: flip and rotate. Flip your chicken more frequently during cooking. Sometimes rotating the basket itself helps, too.
If a part is browning too quickly, you can loosely tent it with aluminum foil. This protects it from direct heat.
Air fryers can have hot spots, so learning your machine’s quirks is key. After a few tries, you’ll know exactly what to do.
Preventing Dry Breast Meat
Nobody wants dry chicken. The breast is leaner and can dry out faster than the thighs.
One trick is to place butter or lemon slices under the breast skin. This adds moisture and flavor as it cooks.
Another method is to cook the chicken breast-side down for the first half, then flip it. This shields the breast from the most intense heat.
Brining the chicken beforehand can also greatly help. A simple saltwater brine keeps chicken incredibly juicy.
Always use that meat thermometer! Pull the chicken out right when it hits 165°F to prevent overcooking.
Making Your Skin Extra Crispy
Who doesn’t love super crispy skin? Here are some secrets we’ve uncovered.
Patting dry is number one. Any moisture will steam instead of crisp.
Rubbing a tiny bit of baking powder (about 1/2 teaspoon) into the skin can work wonders. It helps draw out moisture and creates a crispier texture.
Don’t forget the oil. A thin layer of oil on the skin helps conduct heat and promotes browning.
Finally, avoid overcrowding the basket. Air must circulate all around the chicken for that perfect crunch.
Resting Your Chicken
This step is non-negotiable for a juicy chicken. Seriously, do not skip it.
Once your chicken is cooked, remove it from the air fryer and tent it loosely with foil. Let it rest for 10-15 minutes.
Resting allows the juices to redistribute throughout the meat. If you cut into it too soon, all those delicious juices will run out onto your cutting board.
This simple act ensures every bite is flavorful and moist. It’s the mark of a well-cooked bird.
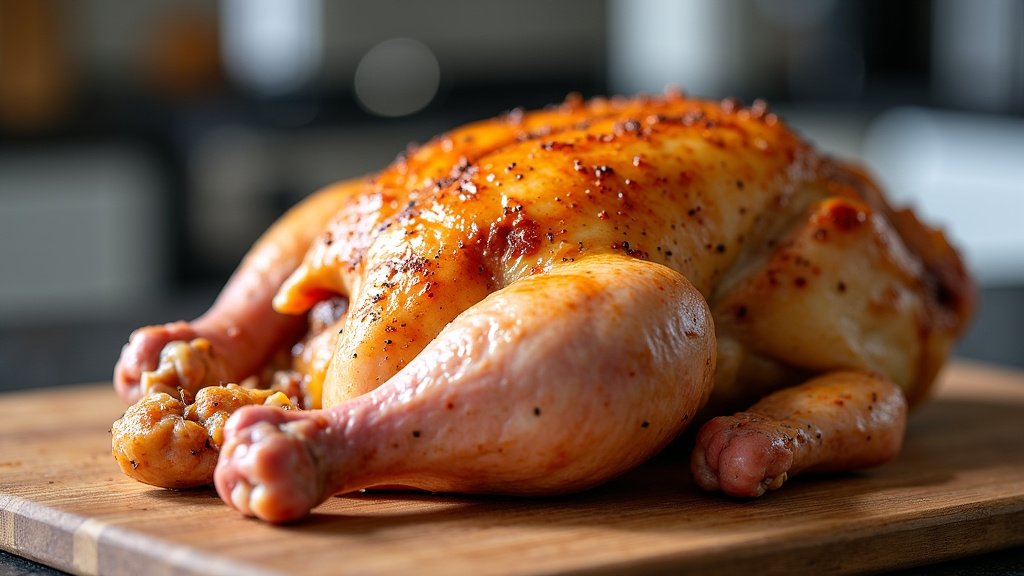
Air Fryer Roast Chicken Checklist
Here’s a quick checklist to ensure you hit all the marks for perfect air-fried whole chicken.
- Choose the right size chicken (3-5 lbs).
- Thaw completely and pat skin bone-dry.
- Season generously, inside and out.
- Arrange in air fryer with good air circulation.
- Cook at initial high temp, then lower.
- Use a meat thermometer to confirm 165°F.
- Rest your chicken for 10-15 minutes.
Comparative Cook Times: Air Fryer vs. Oven
You might be wondering just how much time the air fryer really saves. It’s quite significant!
Air fryers cook by circulating hot air, similar to a convection oven, but usually more intensely and in a smaller space.
This efficiency means less preheating time and faster overall cooking. It’s a game-changer for weeknight meals.
| Method | Approx. Preheat Time | Approx. Cook Time (for 4 lb chicken) | Total Time |
|---|---|---|---|
| Conventional Oven | 15-20 min | 75-90 min | 90-110 min |
| Air Fryer | 5 min | 60-70 min | 65-75 min |
As you can see, the air fryer can shave off a good 20-30 minutes from your total cooking time. This doesn’t even account for the energy savings!
It’s amazing how much faster you can get a delicious, whole roasted chicken on the table. This makes it a great option for meal prep or busy evenings.
Conclusion
Cooking a whole chicken in your air fryer is a game-changer for quick, delicious meals. You get that amazing crispy skin and juicy meat with less effort and faster cooking times than a traditional oven.
We’ve walked you through everything from choosing the right bird to perfecting the cook and ensuring it’s juicy every time. It’s all about a little prep, precise temperatures, and that all-important meat thermometer.
Now you have all the tools and confidence you need to prepare a perfect air-fried whole chicken. Give it a try tonight and transform your dinner routine!
Frequently Asked Questions
Can I put a frozen whole chicken in the air fryer?
No, you should never put a frozen whole chicken directly into an air fryer. It will cook unevenly and could pose a food safety risk. Always make sure your chicken is completely thawed before air frying.
My air fryer chicken skin isn’t crispy enough. What went wrong?
The most common reasons for less-than-crispy skin are not drying the chicken thoroughly or overcrowding the basket. Patting the skin super dry with paper towels is essential, and ensure there’s plenty of space for air to circulate around the bird.
What if my chicken is bigger than 5 pounds?
If your chicken is larger than 5 pounds, it might not fit or cook properly in most air fryers. We recommend sticking to a 3-5 pound chicken for the best results. For larger birds, consider spatchcocking or using a traditional oven.
Do I need to flip the chicken during air frying?
Yes, flipping the chicken is highly recommended. We found that turning your chicken halfway through the lower-temperature cooking phase helps ensure even cooking and allows both sides of the skin to get wonderfully crispy.
How can I make sure the breast meat doesn’t dry out?
To prevent dry breast meat, you can place butter or lemon slices under the breast skin before cooking. Also, cooking breast-side down for the first half of the cooking time can help. Always pull the chicken out as soon as it reaches 165°F to avoid overcooking.
