
How to Clean the Inside of an Air Fryer?
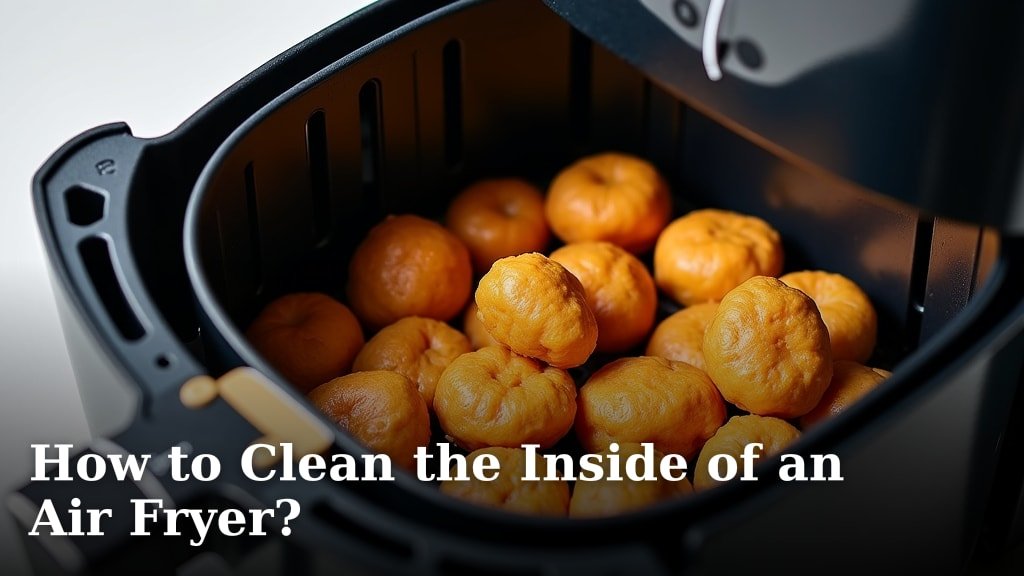
The easiest way to clean the inside of your air fryer is to make sure it’s cool, unplugged, and disassembled. Then, wipe down the inside with a damp microfiber cloth and a mild dish soap solution. Don’t forget to scrub away stubborn bits from the basket and drawer.
You love your air fryer for those crispy fries and quick meals, right? But over time, food splatters and oil residue can build up, changing how your food tastes and how your air fryer works. Keeping things clean helps your appliance last longer and keeps your food tasting great. A little regular cleaning goes a long way!
- Prep your air fryer safely.
- Clean the basket and drawer thoroughly.
- Wipe down the heating element.
- Tackle tough greasy spots.
- Perform routine maintenance.
Ready to get that appliance sparkling? Let’s walk through exactly how to clean the inside of your air fryer, step by step.
Mastering the Art of Air Fryer Internal Cleaning
Keeping the inside of your air fryer clean is about more than just looks. It’s about food safety and getting the best results from your meals. Think of it like taking care of your car – regular maintenance keeps it running smoothly. We’ll guide you through each step to make sure your air fryer stays in tip-top shape.
Safety First: Prepping Your Air Fryer
Before you even think about grabbing a sponge, you need to make sure your air fryer is safe to clean. This is the most important first step, every time. Skipping it could lead to damage or even injury, and nobody wants that!
Unplug and Cool Down
Always, always, always unplug your air fryer from the wall outlet. This stops any accidental power surges or shocks. Then, let it cool completely. Even if it feels just warm, it could still be hot enough to burn you. Give it at least 30 minutes, or until it’s cool to the touch. This often depends on how long you used it. A good rule of thumb? If you can comfortably hold your hand on it, it’s ready. (Consumer Product Safety Commission guidelines often stress unplugging before cleaning for all appliances).
Gather Your Cleaning Arsenal
You don’t need a lot of fancy products. Simple supplies work best for your air fryer’s interior. Having everything ready before you start cleaning makes the process much smoother and faster. Plus, it prevents you from stopping mid-task to search for a tool.
- Mild dish soap
- Warm water
- Soft sponge or microfiber cloth
- Non-abrasive brush (like a soft-bristled scrub brush or old toothbrush)
- Baking soda (for tough spots)
- Small bowl for mixing solutions
Cleaning the Basket and Drawer
These are the parts that get the messiest! They hold your food directly, so they collect grease and crumbs. Cleaning them well means your next meal won’t taste like your last one. Plus, it helps air circulate better for that perfect crisp.
Initial Rinse and Soak
Start by removing the basket from the drawer and emptying any loose crumbs into the trash. Give both a quick rinse under warm water. If there are stuck-on food bits, a short soak can do wonders. Fill the drawer with warm water and a few drops of dish soap, then place the basket inside. Let it sit for 10-15 minutes. This softens grime, making it much easier to wipe away later (many kitchen appliance care guides suggest this method).
Scrubbing Away Residue
After soaking, use a soft sponge or a non-abrasive brush with more dish soap and warm water. Gently scrub the basket and drawer, paying extra attention to corners and mesh areas. We found that a small brush, like an old toothbrush, is great for getting into tight spots on the mesh. You’ll be surprised how much gunk comes off! Rinse thoroughly under running water until all soap residue is gone. Dry completely with a clean cloth or let them air dry.
Addressing the Inner Chamber and Heating Element
The main body of the air fryer, especially the heating element, can also gather grease. This area needs careful attention. You want to make sure it’s clean, but also avoid getting it too wet. This is where precision and caution are key.
Wiping Down the Interior Walls
Dampen a microfiber cloth with warm, soapy water. Wring it out very well so it’s only slightly damp, not dripping. Carefully wipe down the inside walls of the air fryer. Avoid spraying water directly into the unit. You’re just trying to remove lingering grease or splatters. Follow up with another clean, damp cloth to wipe away any soap residue. Finally, dry with a third clean, dry cloth. This three-step wipe-down ensures no moisture is left behind.
Cleaning the Heating Element Safely
The heating element is usually at the top of the air fryer, often behind a protective screen. This part gets hot and can accumulate baked-on oil. Do NOT submerge or spray this area. For light residue, use a barely damp cloth to gently wipe around the element. For tougher, baked-on grease, use a dry, soft brush (again, an old toothbrush works well) to gently brush off any flakes. If there’s still stubborn residue, we found that a cotton swab lightly dipped in white vinegar can be effective, but use sparingly and dry immediately. Remember, the goal is to loosen and remove, not to soak.
Tackling Stubborn Stains and Baked-On Grime
Sometimes, normal cleaning isn’t enough. For those really tough spots, you need a little extra help. Don’t worry, there are some safe and effective ways to get your air fryer spotless without harsh chemicals.
The Power of Baking Soda Paste
Baking soda is a natural scrubber and odor absorber. Mix a few tablespoons of baking soda with just enough water to form a thick paste. Apply this paste directly to stubborn grease spots or baked-on food inside the drawer or basket. Let it sit for 10-15 minutes. The baking soda works to lift the grime. Then, scrub gently with a non-abrasive sponge or brush and rinse thoroughly. We’ve seen this method work wonders on sticky residue.
Lemon and Vinegar Solutions
For odors or light greasy film, vinegar is your friend. Mix equal parts white vinegar and water in a spray bottle. Lightly spray the inside of the air fryer (avoiding direct spray on the heating element). Wipe down with a damp cloth. For an odor-fighting boost, you can even put a few lemon slices and a bit of water in the air fryer basket and “air fry” it at 350°F (175°C) for 5-10 minutes. This creates a steam that helps clean and deodorize. Just be sure to wipe it out afterward when cool. Many cleaning experts recommend this natural approach for common kitchen odors (Good Housekeeping suggests vinegar as a natural deodorizer).
Maintaining Your Air Fryer’s Cleanliness
Regular maintenance is easier than deep cleaning a neglected appliance. A few simple habits can keep your air fryer looking and working its best for years. Think of it as preventative care for your kitchen gadget.
A Quick Clean After Every Use
You don’t need a full scrub-down every time. As soon as your air fryer cools down, remove the basket and drawer. Wipe them down with a paper towel or a quick rinse with warm, soapy water. This prevents food from drying and sticking, which makes future cleaning much harder. It’s a small effort that saves a lot of time later on.
Deep Cleaning Schedule Checklist
While a quick clean is great, a monthly deep clean is also important. This ensures no hidden grime builds up. Here’s a simple checklist to guide your deep cleaning efforts:
- Unplug and let the unit cool completely.
- Remove and wash the basket and drawer thoroughly.
- Wipe down the interior walls with a damp, soapy cloth.
- Carefully brush or wipe the heating element.
- Check for and remove any visible food debris from crevices.
- Ensure all parts are completely dry before reassembly and storage.
By following these steps, you’ll keep your air fryer clean, efficient, and ready to cook up delicious meals. It truly is a simple way to extend the life of your appliance and ensure every dish tastes its best. Happy cooking!
Conclusion
You’ve learned that keeping your air fryer clean is about more than just hygiene; it’s about preserving your appliance and ensuring your food always tastes its best. From initial unplugging to tackling tough spots with baking soda, each step plays a vital role. Regular, gentle cleaning prevents stubborn build-up and keeps that delicious, crispy texture consistent.
By adopting a simple routine, you extend your air fryer’s lifespan and avoid unpleasant odors or flavors. So go ahead, give your air fryer the care it deserves. Your taste buds (and your budget) will thank you for it!
Frequently Asked Questions
How often should I deep clean my air fryer?
We recommend a deep clean at least once a month, especially if you use your air fryer frequently. This helps prevent oil and food residue from accumulating and affecting performance or creating odors.
Can I put my air fryer basket and drawer in the dishwasher?
Most air fryer baskets and drawers are dishwasher-safe, but always check your specific model’s manual first. If your manual advises against it, stick to hand washing with warm, soapy water.
What should I do if my air fryer still smells after cleaning?
If odors linger, try the lemon and vinegar steam method mentioned in the article. You can also place a bowl of plain white vinegar or baking soda inside the cooled air fryer overnight to absorb smells.
Is it safe to use oven cleaner inside an air fryer?
No, you should never use harsh chemicals like oven cleaner inside your air fryer. These products can damage the non-stick coating and leave toxic residues that are unsafe for cooking surfaces.
How can I prevent food from sticking to my air fryer basket?
To prevent sticking, ensure you lightly grease the basket or use parchment paper liners designed for air fryers. Also, don’t overcrowd the basket, as this can lead to uneven cooking and sticking.
