
How to Make Bbq Chicken Wings in an Air Fryer?
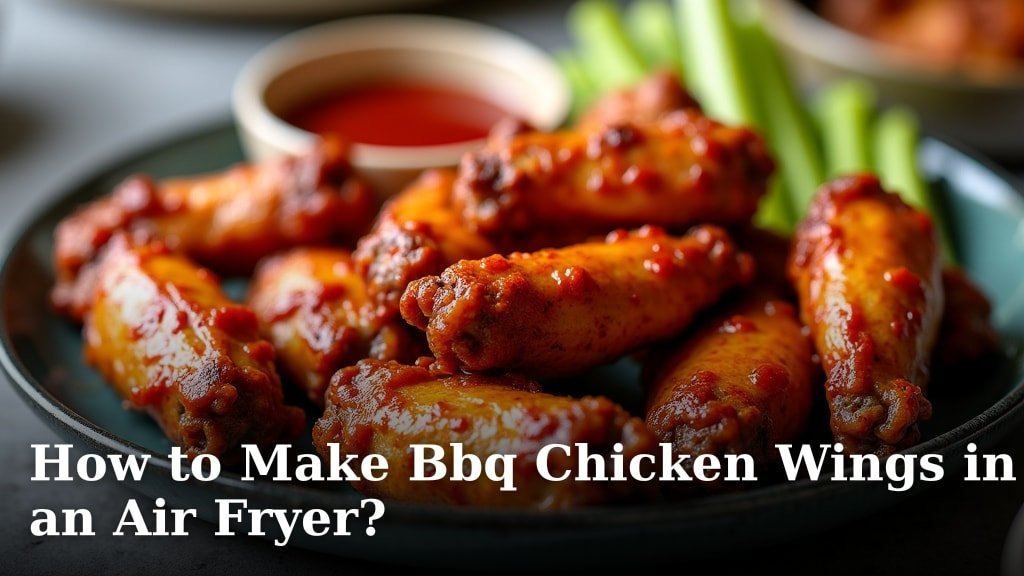
You can absolutely make delicious, crispy BBQ chicken wings right in your air fryer. Forget the mess of deep frying! This method delivers perfectly cooked wings with that irresistible smoky flavor, all with minimal effort. It’s a game-changer for game nights.
Many home cooks are discovering how easy air fryer wings are. You get that satisfying crunch and tender meat that rivals any restaurant. Plus, it’s a healthier way to enjoy your favorite appetizer. We found that the air fryer does an amazing job of circulating hot air for even cooking.
- Crispy wings in under 30 minutes.
- No messy oil required.
- Simple ingredients you likely already have.
- Perfect for parties or a quick snack.
Ready to make the best BBQ chicken wings you’ve ever had at home? Let’s walk through exactly how to get those amazing results in your air fryer, step by step. Our guide on how to get those amazing results in your air fryer provides step-by-step instructions.
Mastering BBQ Chicken Wings in Your Air Fryer
You’re about to discover how incredibly simple it is to make perfectly cooked BBQ chicken wings using your air fryer. This method is designed to give you that amazing crispy skin and juicy meat everyone loves. Forget the fuss of deep frying or the long wait for oven wings. Your air fryer is the secret weapon for weeknight dinners or weekend game day snacks.
Choosing the Right Chicken Wings
The foundation of great BBQ wings starts with the chicken itself. You’ll want to use fresh chicken wings. The most common types are whole wings, which consist of the drumette, flat (or wingette), and the tip. For air frying, it’s best to separate these parts yourself. This helps them cook more evenly.
Separating Your Chicken Wings
To separate the wings, locate the joints. You’ll find a joint between the drumette and the flat, and another between the flat and the tip. A sharp knife or kitchen shears work best for this. Cut through the soft tissue of the joint. The wing tip can be discarded or saved for making stock. Many people find this step takes a minute or two but is well worth the effort for better cooking.
Should You Use Fresh or Frozen Wings?
For the crispiest results, always opt for fresh chicken wings. Frozen wings contain ice crystals. When these melt during cooking, they release moisture. This excess moisture will steam your wings instead of crisping them up. If you must use frozen wings, ensure they are completely thawed and patted very dry before seasoning. This is a critical step for achieving that desirable crunch.
Prepping Your Wings for the Air Fryer
Proper preparation is key to flavorful and crispy wings. This involves drying the wings thoroughly and then seasoning them. Don’t skip these steps!
The Importance of Drying
Before you add any seasonings, pat your separated chicken wings completely dry with paper towels. Use a generous amount of paper towels. Moisture is the enemy of crispiness. Research indicates that removing surface moisture allows the skin to crisp up properly in the hot air (USDA Food Safety and Inspection Service). This step is non-negotiable for that satisfying crunch.
Seasoning for Flavor
You have a lot of freedom when it comes to seasoning. A basic, yet effective, seasoning blend includes salt, black pepper, garlic powder, and onion powder. This simple mix provides a great base flavor. You can add paprika for a little color and a touch of smoke. Some like to add a pinch of cayenne pepper for a slight kick.
For this recipe, we recommend a simple dry rub. Combine about 1 teaspoon of salt, 1/2 teaspoon of black pepper, 1/2 teaspoon of garlic powder, and 1/2 teaspoon of onion powder in a small bowl. Then, toss the dried wings in this mixture until they are evenly coated. You want a light, even coating. Too much seasoning can sometimes clump or burn.
Adding a Binder (Optional but Recommended)
For the seasonings to stick better and for extra crispiness, consider using a binder. A light coating of olive oil or avocado oil works wonders. Just a tablespoon or two is usually enough for a pound of wings. Alternatively, some people use a teaspoon of baking powder (aluminum-free is best). Baking powder helps to dry out the skin, leading to a crispier texture. If you use baking powder, make sure it’s fully incorporated into the dry seasonings and then tossed with the wings. It won’t affect the taste.
We found that tossing the wings with about a tablespoon of oil first, then adding the dry rub, gives the best results. Ensure each wing is lightly coated. This helps create a surface that will crisp beautifully.
Air Frying Your BBQ Chicken Wings: The Process
Now comes the fun part! Getting those wings cooked to perfection in your air fryer is straightforward. The key is proper basket management and temperature control.
Preheating Your Air Fryer
Just like with a conventional oven, preheating your air fryer is important. It ensures your wings start cooking immediately and evenly. Preheat your air fryer to 400°F (200°C) for about 5 minutes. This gets the air circulating at the right temperature for optimal crisping.
Arranging the Wings in the Basket
Don’t overcrowd the air fryer basket. This is a common mistake that leads to soggy wings. If you pack too many wings in, the hot air can’t circulate properly around them. This prevents them from crisping up. You want a single layer of wings in the basket. If you’re making a larger batch, it’s better to cook in two or more batches.
Leave a little space between each wing. This allows the air to flow freely. You might have to do a second batch, but the result will be far superior. Imagine each wing getting its own little sauna of hot air – that’s what we’re aiming for!
Cooking Time and Flipping
The cooking time will vary depending on your air fryer model and the size of your wings. Generally, wings cook for about 20-25 minutes at 400°F (200°C). It’s essential to flip the wings halfway through the cooking process. This ensures both sides get equally crispy and cooked through.
So, after about 10-12 minutes, open the air fryer basket. Using tongs, flip each wing over. You’ll notice they’re starting to get a golden-brown color. Once flipped, continue cooking for another 10-12 minutes, or until the wings are golden brown, crispy, and cooked through. The internal temperature should reach 165°F (74°C) (CDC).
Checking for Doneness
To be absolutely sure your wings are ready, you can check their internal temperature with a meat thermometer. Insert it into the thickest part of the wing, avoiding the bone. It should read 165°F (74°C). Visually, they should look golden brown and feel firm to the touch. The skin should be noticeably crispy. If they aren’t quite there, pop them back in for a few more minutes.
Adding the BBQ Sauce: The Finishing Touch
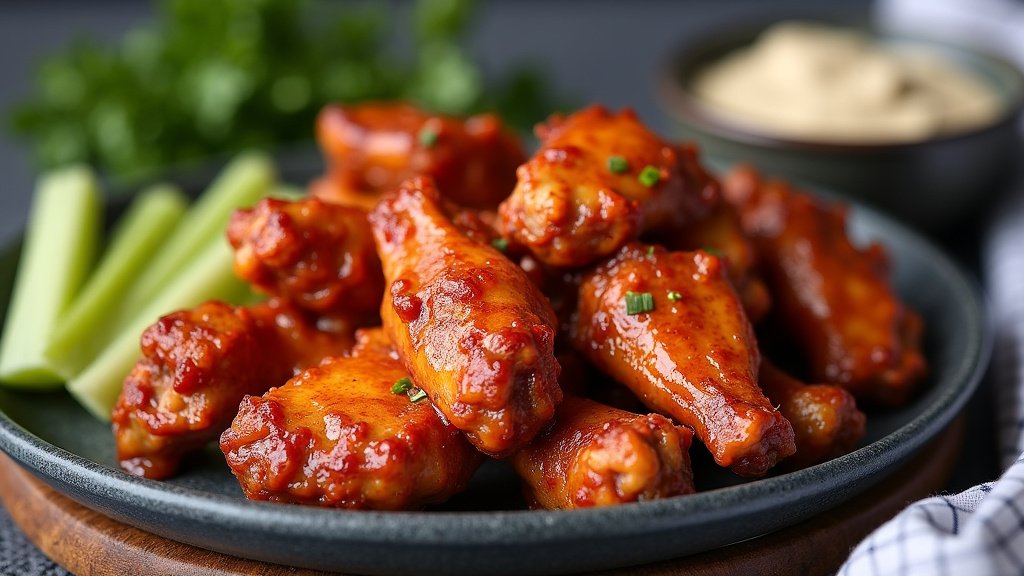
Once your wings are perfectly cooked and crispy, it’s time for the star of the show: the BBQ sauce! You can use your favorite store-bought sauce or make your own.
Saucing Methods
There are two main ways to sauce your wings. The first is to toss them in sauce right after they come out of the air fryer. Place the hot, crispy wings in a large bowl. Pour your favorite BBQ sauce over them and gently toss until evenly coated. This is quick and easy.
The second method involves a light broil or a few more minutes in the air fryer after saucing. This helps the sauce caramelize and stick better. If you choose this method, toss the cooked wings in sauce as described above. Then, return them to the air fryer basket in a single layer. Cook for another 2-3 minutes at 400°F (200°C), watching them closely to prevent burning. This creates a wonderfully sticky, glossy finish.
Best BBQ Sauces for Wings
The “best” BBQ sauce is subjective, of course! However, some popular choices include:
- Sweet and Tangy: A classic with a good balance of sweetness and vinegar.
- Smoky Mesquite: Offers a deep, smoky flavor that pairs wonderfully with chicken.
- Spicy: For those who like a little heat. Look for sauces with peppers like chipotle or habanero.
- Honey BBQ: A sweeter option, often a crowd-pleaser.
Troubleshooting Common Air Fryer Wing Issues
Even with the best instructions, you might encounter a few hiccups. Here are some common problems and how to solve them.
Soggy Wings?
This is usually due to overcrowding the basket or not drying the wings thoroughly. Make sure you’re cooking in a single layer. Patting the wings completely dry before seasoning is also vital. You can even let them air dry in the fridge for 30 minutes before cooking for extra crispiness.
Uneven Cooking?
If some wings are crispier than others, it might be the arrangement in the basket or the size of the wings. Ensure there’s space for air circulation. Flipping them halfway is crucial. If you have significantly different sized pieces, you might need to separate them and cook them in stages.
Wings Sticking to the Basket?
A lightly oiled basket or using parchment liners designed for air fryers can help prevent sticking. Ensure you’re not overcooking the wings, as excessively dry meat can sometimes stick. Using parchment liners designed for air fryers can help prevent sticking.
Your BBQ Air Fryer Wing Checklist
Want a quick rundown of the essentials for perfect wings? Keep this handy:
- Get fresh chicken wings and separate them.
- Pat wings completely dry with paper towels.
- Season generously with your favorite rub.
- Preheat your air fryer to 400°F (200°C).
- Cook in a single layer, flipping halfway.
- Sauce immediately after cooking for best results.
Following these steps will help you create delicious, crispy BBQ chicken wings that will have everyone asking for your secret. Enjoy your cooking!
Conclusion
You’ve mastered the art of creating incredibly crispy and flavorful BBQ chicken wings right in your air fryer! Remember, the keys to success are starting with fresh, dry wings, proper seasoning, and avoiding overcrowding the basket. By following these simple steps, you’re well on your way to serving up a crowd-pleasing appetizer that tastes like it came from your favorite restaurant. Don’t be afraid to experiment with different BBQ sauces. Now, go preheat that air fryer and get ready for some amazing wings!
Frequently Asked Questions
Can I make BBQ wings in my air fryer without a dry rub first?
Yes, you can! While a dry rub adds an extra layer of flavor and helps with crispiness, you can skip it if you’re short on time. Just ensure your wings are patted very dry, as this is key for crisping, and then toss them directly in your favorite BBQ sauce after they’re cooked. The sauce will provide all the flavor you need.
What’s the best way to reheat leftover air fryer BBQ wings?
For the best results, reheat your leftover wings in the air fryer. Place them in a single layer in the basket and cook at around 350°F (175°C) for 5-7 minutes, or until heated through and crispy again. Microwaving tends to make them soft and chewy.
How can I make my air fryer wings extra crispy, even with sauce?
To achieve maximum crispiness, especially if you like sauced wings, consider the “sauce and sear” method. After cooking the wings, toss them in sauce, then return them to the air fryer for 2-3 more minutes at a high temperature. This helps caramelize the sauce and gives them a wonderfully sticky finish without sacrificing too much crunch.
Is it okay to cook frozen BBQ wings in the air fryer?
It’s best to avoid cooking frozen wings if you want them crispy. Frozen wings release a lot of moisture as they thaw and cook, which steams them rather than crisps them. If you must use frozen wings, make sure they are fully thawed and patted extremely dry before seasoning and air frying.
How do I know if my BBQ chicken wings are fully cooked?
You’ll know your wings are fully cooked when they are golden brown and feel firm to the touch. For absolute certainty, use a meat thermometer inserted into the thickest part of the wing (avoiding the bone); it should read 165°F (74°C). Visually, the skin should look nicely crisped, not pale or soggy.
