How To Make Air Fryer Crispy Chicken Skin?

To achieve crispy chicken skin in your air fryer, thoroughly pat the skin dry with paper towels, use a light brush of oil, and cook at an initial higher temperature before lowering it. This two-stage cooking process helps render the fat and create a golden, crunchy texture.
You can make air fryer crispy chicken skin by ensuring the skin is dry, seasoning it well, preheating your air fryer, and cooking at the right temperature, often starting high then reducing heat.
TL;DR: How to Get That Perfect Crispy Chicken Skin
- Always pat chicken skin very dry before seasoning.
- Use a light amount of oil, like a brush, not a pour.
- Preheat your air fryer for even cooking and immediate crisping.
- Start with a higher temperature (around 375-400°F) for the first 5-10 minutes.
- Reduce the temperature to finish cooking, ensuring the skin doesn’t burn while the meat cooks through.
How To Make Air Fryer Crispy Chicken Skin?
Making truly crispy chicken skin in your air fryer is all about controlling moisture and temperature, turning a simple ingredient into a crunchy delight. You can achieve this by preparing the skin correctly and using a specific cooking method.
The Essential First Step: Drying the Skin
Do you know the single most important step for crispy chicken skin? It’s removing moisture. Water is the enemy of crispiness. We found that patting the chicken skin extremely dry with paper towels is non-negotiable (Cook’s Illustrated). Think of it like a sponge; you want it as dry as possible.
Seasoning and a Touch of Oil
Once your chicken skin is dry, it’s time to season. A simple approach is salt and pepper, but you can add other spices to enhance flavor. Garlic powder, paprika, or even a touch of cayenne can make a big difference.
For chicken skin, a very light coating of oil helps promote browning and crispiness. We found that brushing a thin layer of high smoke point oil, like avocado or grapeseed, works wonderfully. Don’t drench it; a little goes a long way.
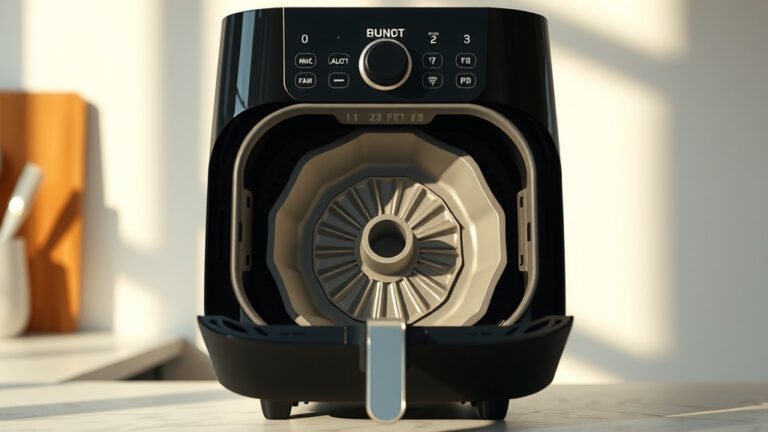
Preheating for Instant Crispness
Just like an oven, your air fryer needs to be preheated. Why? Putting food into a hot environment immediately starts the cooking process. This immediate heat helps the chicken skin begin to crisp right away, preventing it from just sitting there and getting rubbery.
Starting with High Heat
Most experts recommend preheating your air fryer to around 375-400°F (190-200°C) for about 3-5 minutes. This creates a powerful, circulating hot air blast that hits the skin instantly for quick rendering.
The Smart Two-Stage Temperature Method
Here’s where the magic really happens. Many people just set one temperature and walk away. But for truly crispy chicken skin, a two-stage temperature method is often superior. You start high to shock the skin and render the fat quickly, then lower the temperature to finish cooking without burning.
Initial High Heat for Fat Rendering
Begin by air frying your chicken at 375-400°F (190-200°C) for about 5-10 minutes. Watch it closely. You want to see that golden brown developing and the fat visibly rendering.
Finishing at a Lower Temperature
After the initial high heat, reduce the temperature to 350°F (175°C). Continue cooking until the chicken is done and the skin is deeply golden and crispy. This might take another 10-20 minutes, depending on the size and cut of your chicken (USDA guidelines on poultry cooking temperatures are important here).
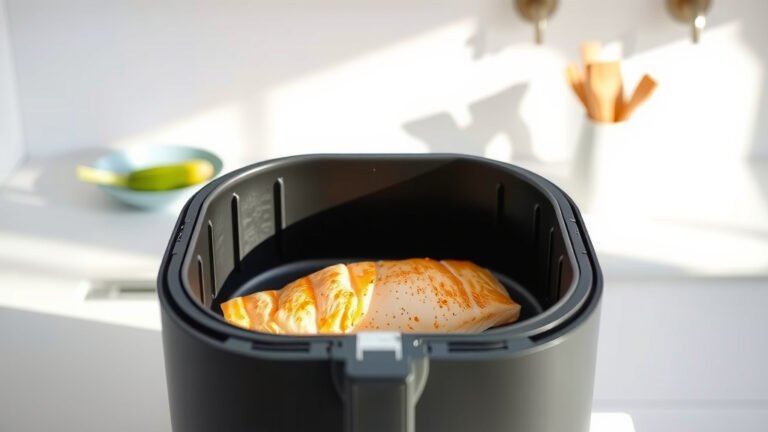
Arranging Chicken Properly
How you arrange your chicken makes a difference. Don’t overcrowd the basket. Air fryers work by circulating hot air, so if you pack too much in, the air can’t reach all surfaces. This means uneven cooking and less crispiness. Give each piece some breathing room. If cooking a larger batch, it’s better to cook in batches.
Flipping and Checking
Air frying isn’t always a hands-off process, especially for optimal crispiness. About halfway through the cooking time, flip your chicken pieces. This ensures even exposure to the circulating hot air on all sides. Keep an eye on it; different air fryers cook differently.
Troubleshooting Tips for Less-Than-Crispy Skin
Did you follow all the steps and still find your skin less than perfect? Don’t worry, it happens. A common culprit is still too much moisture or not enough cooking time at the higher temperature. Try patting it even drier next time, or add a few more minutes at the initial high heat.
Here’s a quick checklist for crispiness:
- Is the skin truly dry?
- Did you use just a light brush of oil?
- Was your air fryer properly preheated?
- Did you overcrowd the basket?
- Did you cook long enough at the high temperature?
- Is your chicken cut too thick, trapping moisture?
Air Frying Versus Other Cooking Methods
You might wonder how air frying stacks up against traditional oven roasting or pan-frying for crispy chicken skin. Each method has its pros and cons, but air frying often wins for convenience and efficiency, especially for smaller batches.
| Method | Crispiness Level | Prep Time | Cook Time | Oil Needed |
|---|---|---|---|---|
| Air Fryer | Excellent, even crisp | Low | Moderate (15-30 min) | Minimal |
| Oven Roasting | Good, but can be uneven | Moderate | Longer (30-60 min) | Moderate |
| Pan Frying | Very good, but messy | Low | Moderate (15-25 min) | Moderate to High |
Enhancing Flavor and Texture
Want to go beyond basic salt and pepper? Consider a sprinkle of smoked paprika for depth, or a pinch of onion powder. Many experts suggest a tiny bit of baking powder mixed with your seasoning; it can help draw out moisture and create a bubbly, extra-crispy texture (America’s Test Kitchen).
Conclusion
Achieving perfectly crispy chicken skin in your air fryer is definitely within your reach. Remember, the journey to that golden, crunchy bite starts with removing excess moisture and understanding how heat circulation works. By following these simple steps – drying, light oiling, preheating, and the two-stage temperature approach – you’re well on your way to air frying success. It’s a small effort for a big reward, making your meals not just healthier, but incredibly satisfying.
Frequently Asked Questions
How do I prevent chicken skin from becoming rubbery in the air fryer?
The key to preventing rubbery chicken skin is ensuring it’s very dry before cooking and using a high initial cooking temperature. This rapid heat helps render the fat quickly and prevents steaming, which is a common cause of rubbery textures.
Can I get crispy skin on boneless, skinless chicken in an air fryer?
While this article focuses on chicken with skin, you can achieve a crispy exterior on boneless, skinless chicken by patting it very dry, light oiling, and ensuring it’s not overcrowded. However, it won’t be the same kind of crispiness as actual skin, but it can get a nice sear.
What is the best temperature to air fry chicken skin?
For the crispiest chicken skin, we recommend a two-stage approach: start at a higher temperature, around 375-400°F (190-200°C), for the first 5-10 minutes. Then, reduce it to 350°F (175°C) to finish cooking the chicken through without burning the skin.
How long does it take to make chicken skin crispy in an air fryer?
The time varies based on chicken piece size and air fryer model, but typically, you can expect crispy skin in about 15-30 minutes total. The first 5-10 minutes at high heat are critical for developing that initial crispness and rendering fat.
Should I spray the air fryer basket with oil for crispy skin?
Spraying the air fryer basket is good for preventing sticking, but for crispy skin, it’s more important to lightly brush the chicken skin itself with oil. This direct application helps the skin crisp up and brown beautifully, rather than just preventing sticking to the basket.