
How to Make Roasted Chickpeas in an Air Fryer?
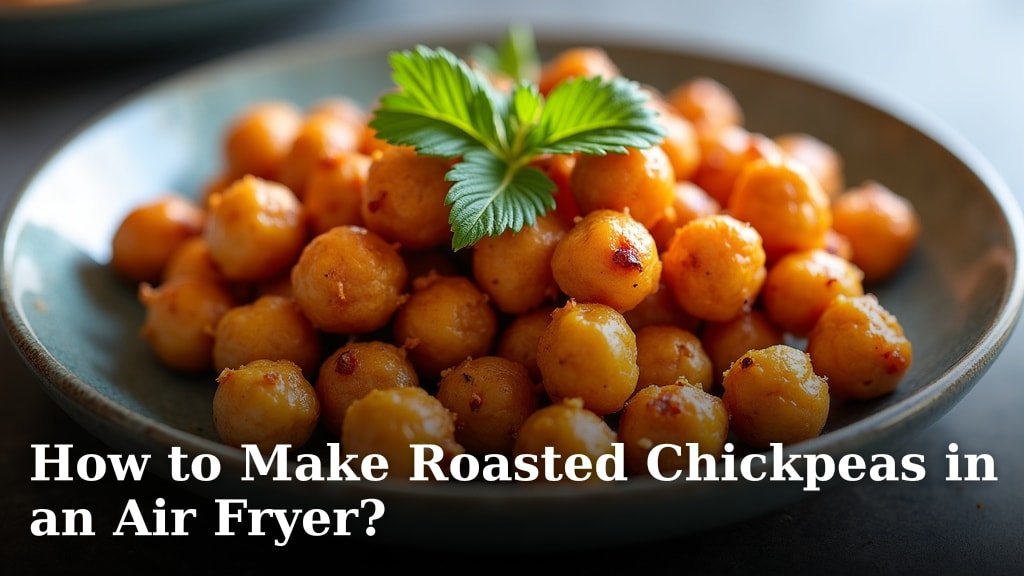
Yes, you can absolutely make deliciously crispy roasted chickpeas in your air fryer! It’s a quick and easy way to get a healthy, crunchy snack. Just follow a few simple steps to transform canned chickpeas into a favorite treat. Your air fryer can create a wonderful texture you’ll love.
Making air fryer chickpeas is one of the easiest healthy snack recipes we’ve found. They’re perfect for topping salads or just munching on their own. Plus, you can customize the seasonings for endless flavor combinations. Many people love how quickly they cook up.
- Dry your chickpeas thoroughly for maximum crispiness.
- Toss with oil and your favorite seasonings.
- Air fry at the right temperature for about 10-15 minutes. Our guide to air frying french fries explains the right temperature for crispy results.
- Shake the basket halfway through cooking.
- Enjoy your crunchy, homemade snack!
Ready to make some amazing air fryer chickpeas? Let’s walk through exactly how to get them perfectly crunchy every time.
Making Crispy Chickpeas in Your Air Fryer
So, you’ve got your air fryer and you’re ready to whip up some seriously tasty roasted chickpeas. It’s much simpler than you might think. You’re just a few steps away from a wonderfully crunchy snack. Let’s get started on transforming those humble canned chickpeas into something amazing.
The Essential Steps to Air Fryer Chickpea Perfection
Getting your chickpeas just right in the air fryer is all about a few key techniques. We’re aiming for that perfect balance of tender inside and delightfully crispy outside. You can absolutely achieve this with minimal effort. Follow along, and you’ll be a pro in no time!
Step 1: Choose and Prepare Your Chickpeas
You can start with dried chickpeas, but for this recipe, we’re focusing on canned ones. They are already cooked and ready to go. This makes the whole process super speedy. You’ll find them in the canned goods aisle of your grocery store.
Rinsing and Draining
The first thing you need to do is open your can of chickpeas and pour them into a colander. Give them a good rinse under cold running water. This helps remove some of the excess sodium from the canning liquid. It also gets rid of that slightly metallic taste some people notice. Let them drain well in the colander.
The Critical Step: Drying Your Chickpeas
This is where the magic happens for crispiness. You absolutely must get them as dry as possible. Any moisture left on the chickpeas will steam them instead of roasting them. This leads to a sad, soggy outcome. Don’t let that happen to you!
Take a clean kitchen towel or a few layers of paper towels. Spread the rinsed chickpeas out on the towel. Gently pat them dry. You can even roll them around a bit to ensure all sides are dry. Get into the nooks and crannies! For extra crispiness, some folks like to gently rub the chickpeas between their hands or the towel. This can help remove the skins, which sometimes peel off easily. While not strictly necessary for crispiness, removing skins can make them a bit more uniform in texture.
Step 2: Seasoning for Flavor
Now for the fun part! Seasoning is what makes these chickpeas truly shine. You can go sweet, savory, spicy, or a combination of everything. The oil helps the seasonings stick and also aids in achieving that lovely crisp.
Choosing Your Oil
You’ll need a little bit of cooking oil. Olive oil is a popular choice and works wonderfully. Avocado oil is another great option, as it has a high smoke point, which is good for air frying. You could also use canola oil or a neutral vegetable oil. Just a tablespoon or two is usually enough.
Place your thoroughly dried chickpeas in a medium bowl. Drizzle the oil over them. Toss them gently with a spoon or your hands until they are evenly coated. Imagine you’re giving them a tiny massage with the oil.
Popular Seasoning Combinations
This is where you can really get creative. Here are a few ideas to get you started:
- Classic Salty & Savory: Salt, pepper, garlic powder, onion powder.
- Spicy Kick: Salt, chili powder, cumin, paprika, a pinch of cayenne.
- Herby Delight: Salt, dried rosemary, dried thyme, garlic powder.
- Sweet & Cinnamon-y: Cinnamon, a tiny pinch of salt, a touch of sugar or maple syrup (use sparingly as sugar can burn).
Add your chosen seasonings to the oiled chickpeas. Toss again until they are well-distributed. Make sure every chickpea gets a little flavor love. Think about what you love to eat. You can adapt these seasonings to match your favorite snacks or meals.
Step 3: Air Frying the Chickpeas
Your air fryer does the heavy lifting here. It circulates hot air around the chickpeas, drying them out and making them wonderfully crisp. Setting the right temperature and time is key.
Preheating Your Air Fryer
Many air fryer recipes recommend preheating. This ensures an even cooking temperature from the start. It helps the chickpeas begin crisping up right away. Preheat your air fryer to 375°F (190°C) for about 3-5 minutes.
Arranging the Chickpeas in the Basket
Once preheated, carefully open your air fryer basket. Spread the seasoned chickpeas in a single layer as much as possible. Don’t overcrowd the basket. If you have too many, they will steam. You might need to cook them in batches. This is a common recommendation from air fryer manufacturers to ensure proper cooking.
Cooking Time and Shaking
Air fry the chickpeas for about 10 to 15 minutes. The exact time can vary depending on your air fryer model and how wet your chickpeas were initially. The most important part of the cooking process is shaking the basket halfway through. About 5-7 minutes into cooking, pull out the basket and give it a good shake.
This shaking action helps the chickpeas move around. It allows them to cook evenly on all sides. It’s like giving them a little tumble in their hot air bath. After shaking, carefully return the basket to the air fryer to finish cooking. Keep an eye on them towards the end of the cooking time.
Checking for Doneness
How do you know when they’re perfectly done? They should look golden brown and feel firm to the touch. You can take one out and let it cool for a minute. It will get even crispier as it cools. If they still feel a bit soft, give them another few minutes in the air fryer. Just be careful not to overcook them, or they can become too hard.
Step 4: Cooling and Enjoying Your Snack
Once they’re perfectly roasted, it’s time to let them cool. This is another crucial step for achieving maximum crispiness. Resist the urge to eat them all straight from the hot air fryer!
The Importance of Cooling
Spread the hot chickpeas out on a baking sheet or a plate. Let them cool down to room temperature. As they cool, the residual moisture will evaporate further, and they’ll become satisfyingly crunchy. This cooling process is vital for the texture you’re looking for.
Storage Tips
Leftover air fryer chickpeas can be stored in an airtight container at room temperature. They are best enjoyed within 2-3 days. After that, they might start to lose some of their crispiness. If they do get a little soft, you can always pop them back in the air fryer for a minute or two to re-crisp them!
Troubleshooting Common Air Fryer Chickpea Issues
Even with the best intentions, sometimes things don’t turn out perfectly the first time. Don’t worry! Most issues with air fryer chickpeas are easy to fix. We’ve all been there. Here are a few common problems and how to solve them.
Problem: My Chickpeas Are Soggy
This is the most common complaint. It almost always comes down to one thing: not drying them thoroughly enough. If they’re still wet when they go into the air fryer, they will steam.
Solution: Make sure you’re spending extra time drying your chickpeas. Use a towel and pat them until they feel dry to the touch. Also, ensure you aren’t overcrowding the air fryer basket. Cook in batches if necessary for better air circulation.
Problem: My Chickpeas Are Too Hard or Burnt
This can happen if the temperature is too high or you cook them for too long. Air fryers can be powerful!
Solution: Reduce the cooking time slightly or lower the temperature to 350°F (175°C) for the last few minutes. Always keep an eye on them, especially during the last few minutes of cooking. Shake the basket frequently.
Problem: Seasonings Aren’t Sticking
Sometimes your beautiful spice blend just slides right off. This is often related to the oil.
Solution: Make sure you’re using enough oil to lightly coat the chickpeas. If you find they’re still not sticking well, try tossing them with the oil *after* adding the dry seasonings. The oil will help hold everything in place.
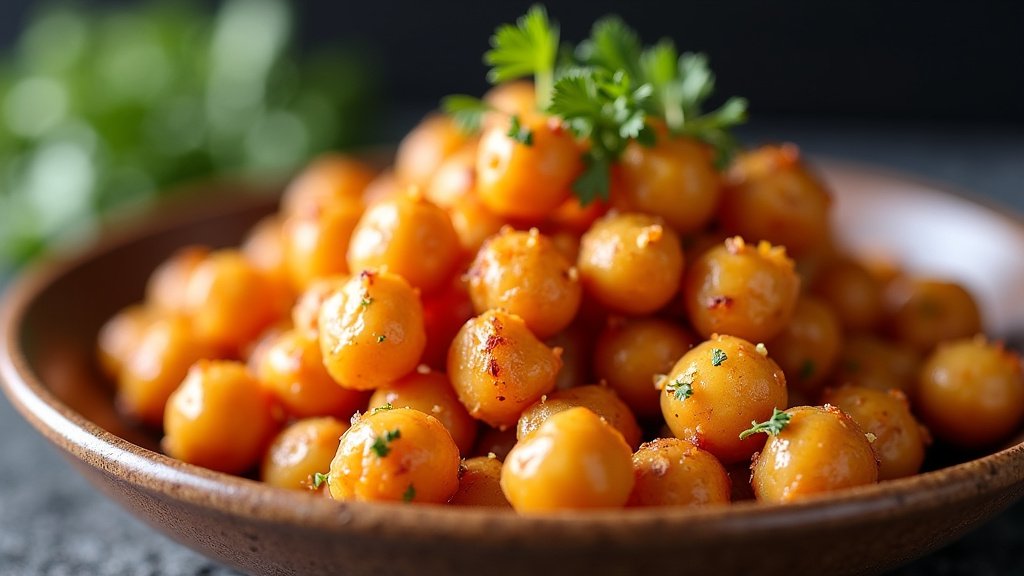
Your Air Fryer Chickpea Checklist for Success
Ready to make a batch? Keep this quick checklist handy for perfect results every time:
- Dry Them Well: Pat those rinsed chickpeas completely dry with a towel.
- Oil and Season: Toss with a tablespoon or two of oil and your favorite spices.
- Single Layer: Arrange them in a single layer in the air fryer basket.
- Shake It Up: Remember to shake the basket halfway through cooking.
- Cool Down: Let them cool on a plate to get truly crispy.
Conclusion
You’ve learned how simple it is to make perfectly crispy roasted chickpeas right in your air fryer. By focusing on drying them thoroughly, seasoning them well, and using the right air fryer technique, you’re set to create a healthy, delicious snack. Remember, a little attention to detail, especially with drying and shaking, makes all the difference.
Don’t be afraid to experiment with different spice blends! You’ve got the power to whip up this satisfying crunch anytime you need it. Now, go ahead and gather your ingredients to make your first batch of air fryer chickpeas. You’ll be enjoying them in no time!
Frequently Asked Questions
How do I make sure my air fryer chickpeas are extra crunchy?
The key to ultimate crunchiness is ensuring your chickpeas are completely dry after rinsing. Pat them thoroughly with a kitchen towel or paper towels, removing as much moisture as possible. Also, avoid overcrowding the air fryer basket so air can circulate freely.
Can I make sweet roasted chickpeas in the air fryer?
Absolutely! For a sweet treat, toss your dried chickpeas with a little oil, cinnamon, and a pinch of salt. You can add a tiny bit of sugar or maple syrup, but be mindful that sugars can burn easily, so watch them closely.
How long do air fryer chickpeas last?
Air fryer chickpeas are best enjoyed fresh, within 2-3 days. Store any leftovers in an airtight container at room temperature. If they lose some crispiness, you can easily re-crisp them in the air fryer for a minute or two.
What if I don’t have an air fryer? Can I still make these?
Yes, you can adapt this recipe for a conventional oven. Spread the seasoned chickpeas on a baking sheet and roast at 400°F (200°C) for 20-30 minutes, shaking the pan occasionally, until they reach your desired crispiness.
Can I use dried chickpeas instead of canned ones for this recipe?
While you can use dried chickpeas, it requires a soaking and cooking process beforehand. For this air fryer method, using canned chickpeas that are rinsed, drained, and thoroughly dried is much faster and simpler. It’s the quickest way to achieve great results.
